
Nanoleaf - a system of intelligent lights illuminating your home
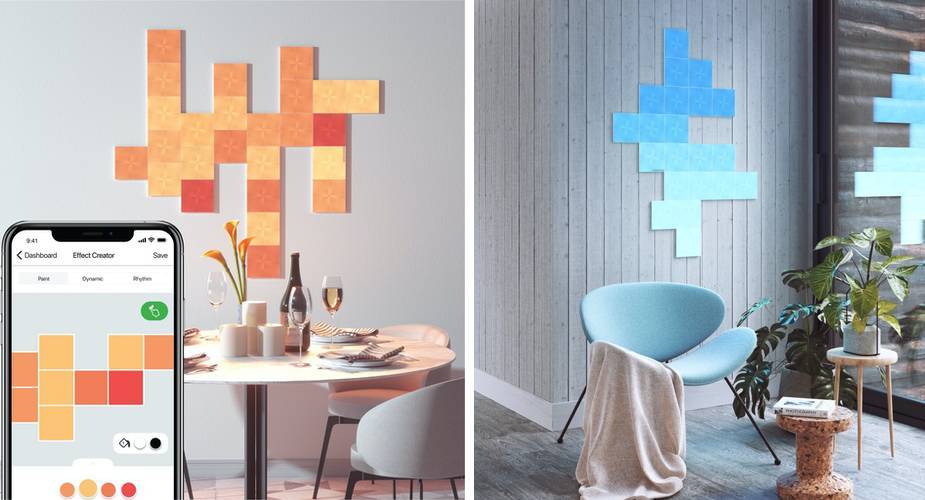
NanoLeaf Canvas is a LED panel system that differs significantly from ordinary strip LEDs. It consists of touch-sensitive LED light squares. You decide on the shape and configuration. To put it simply, it is a beautiful view that can be freely configured by yourself.
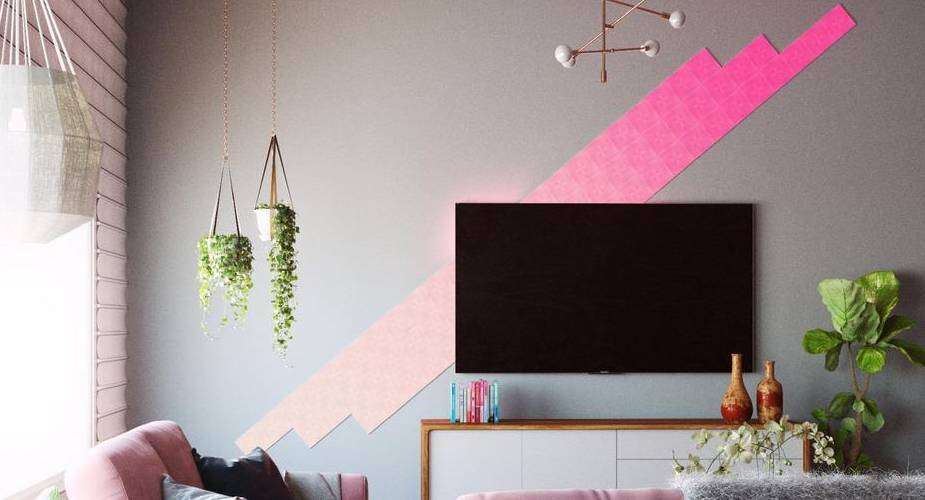
Nanoleaf light panels are like illuminated graphics on the wall. They not only give personality to the room, but also make the space interactive and fun. It is not cheap entertainment, but it can be one of the most beautiful things you have at home.
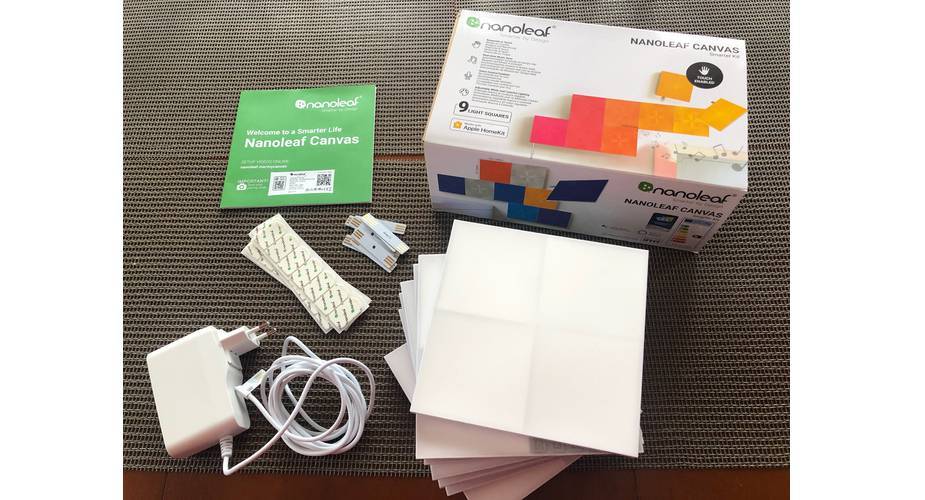
Nanoleaf Canvas starter kit, contains nine panels. Larger sets contain 17 light panels. It is also worth noting that previous Nanoleaf light models required an optional rhythm module so that the lights "dance" according to the chosen music, now there is no need to buy any other accessories. The set is powered by one control panel, which is included in each package.
Construction
Unlike earlier versions with triangular shapes, the tested Canvas set consists of square panels. If one of you has already seen older Nanoleaf panels, you will immediately notice that the Canvas panels are smaller - the triangular light panels are 21 cm high and 24 cm wide at the base, while the Canvas panels are 15 cm x 15 cm each. However, both sets of lights are made of the same lightweight white material.
Apart from this change in general shape, the new panels have also undergone a slight change in internal construction. You can see that each square is divided into four parts. This allows the light is distributed evenly and gives a pleasant crystal effect, while the panels are on. However, despite being divided into sections, each panel is able to display only one color of light at a time.
Another thing that Nanoleaf has changed in design is the light intensity. When it was set to 100% the older light panels were too bright to look at them directly, and in Canvas panels the intensity is chosen so that you don't need to squint your eyes when lighting up to 100%.
In addition to the nine light panels, the starter package also has a power supply unit (with the product code printed on it) to connect the individual panels to each other and a double-sided tape to glue the panels to the walls.
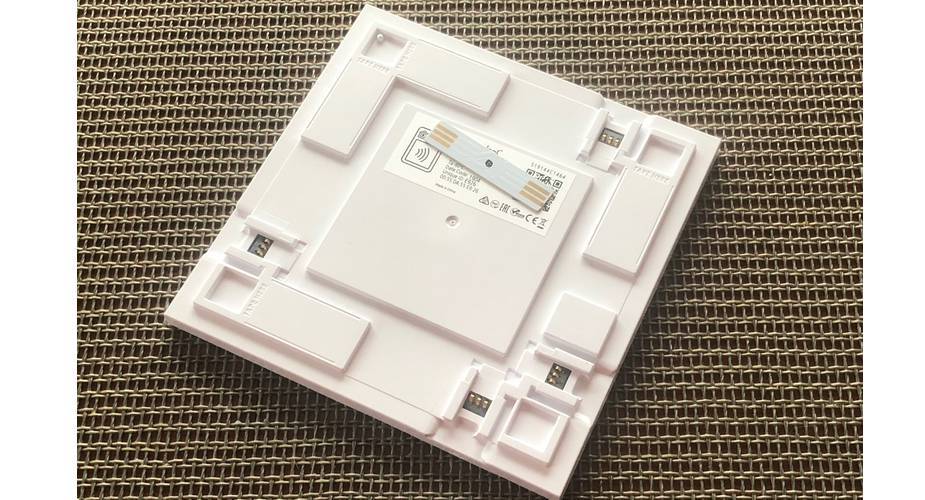
The supplied tape is very strong, allowing you to attach the panels without drilling into the wall. It has an overlap, thanks to which it is possible to pull it off the wall without damage... at least theoretically. At the back of each panel there are three plastic "gutters" in which the tape should be glued.
Underneath each panel there are sockets in which connectors are inserted. On each panel there are many sockets to choose from, which gives freedom of creativity when creating the design layout. There is a possibility to buy flexible connectors, which are ideal when you would like to mount the panels on e.g. a wall and a ceiling or two adjacent walls.
The included power supply also ends with a small connector at one end, which slides into the panel closest to the power outlet. If the layout of the project starts much above the place where the socket is located, you have to get used to the cable hanging from the wall. Otherwise, a perfect hiding of the cable will require the skill of a DIY enthusiast.
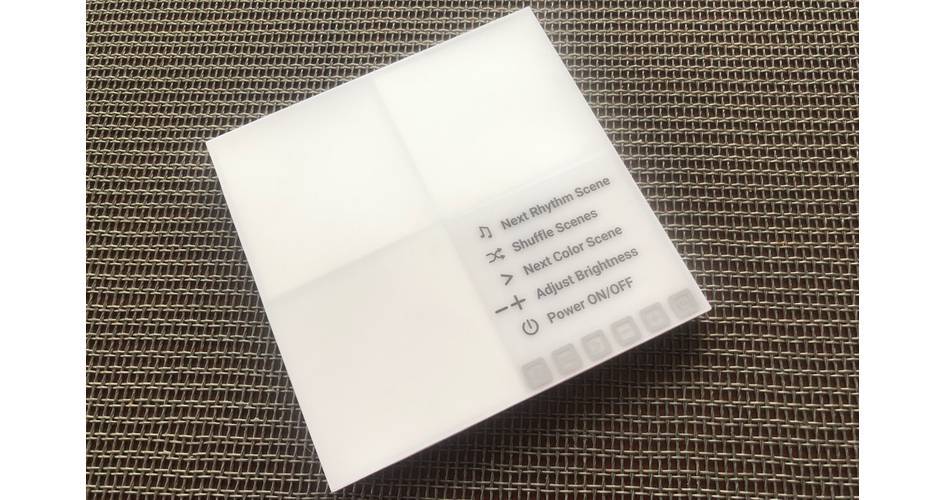
In my case I placed the power supply connector in the main control panel. It is a panel with a built-in rhythm module. So, unlike the earlier triangular version of Nanoleaf Aurora, there is no need to buy a separate accessory for the lights to "dance" to your favorite melodies. This panel also has buttons to turn the light on and off, change scenes and adjust brightness. This way, family and friends can also control the lights without the need for an application or a smart speaker. The buttons are located under a removable transparent sticker that details the meaning of each symbol.
A microphone is also included in the Canvas kit. This makes the light sensitive to environmental sounds (music or conversation), which gives beautiful effects on the wall. Although the microphone in the room may be a cause for concern for some, it only works if Rhythm is enabled. Nanoleaf claims that the light synchronization takes place locally and nothing is recorded.
Installation
Installing the panels on the wall is not too difficult, but it requires precision on the user's side, so that the final effect is as we intended it to be and the panels are not laid out, e.g. crooked.
An earlier version of Nanoleaf Aurora was equipped with triangular pieces of paper that could be used to design a template. Nanoleaf Canvas does not include them. The best way to build a project is to place the panels on a large table or on the floor. You can also use the Nanoleaf Smarter Series application to choose options for laying the panels based on the number of panels. According to the manufacturer you can lay the panels using augmented reality. Just take a picture of our wall and apply different panel layouts to it.
Once we decide which layout we like, it is time to start playing with sticking the panels to the wall. This process will require some patience and accuracy because after sticking the panel to the wall it is difficult to dismantle it so as to stick it again in another place. Before you place the second panel on the wall, I recommend to insert the connector into it. Holding the panel at a small angle will prevent the panel from sticking to the wall prematurely. And so, we attach all the panels to the wall to the end in the arrangement that we like the most. Finally, insert the connector from the power supply into the first or last panel.
Application
The Nanoleaf Smarter Series application has recently been completely changed to iOS and is now also available in dark mode. The new look is modern and elegant, although it takes some time to get used to it. What's more, in the Discover tab there are now several new scenes available to help you choose the most suitable panel layout. The application is available in several languages. Unfortunately, it lacks Polish language.
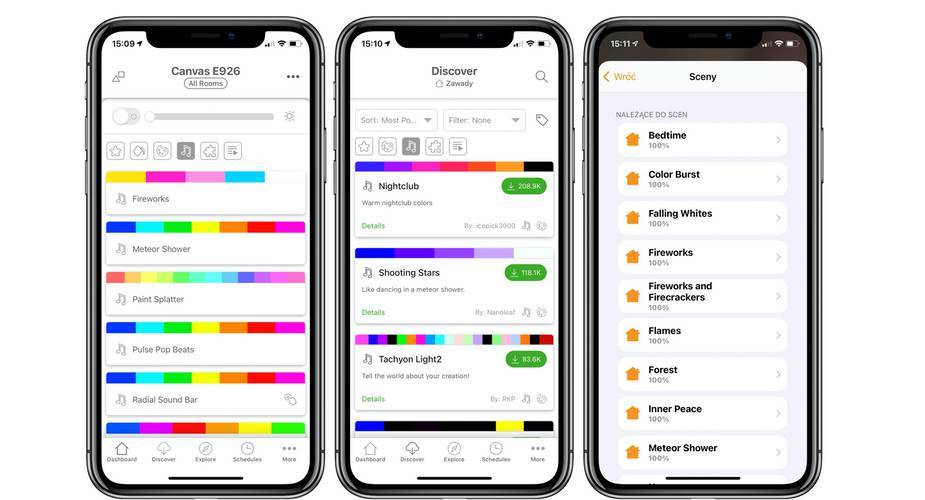
The application itself is not required for the set to work. In this case, the whole operation is done manually. The application will be useful if you want to control the panels by voice through e.g. Siri/HomeKit, Google Home or Amazon Alexa, or select scenes or automations from your smartphone.
If the user has never had Nanoleaf panels, he has to create an account in the first step and after configuring it he can start pairing. Just follow the instructions of the application. You will need the product code (or QR code) printed in the user manual that comes with the starter kit. This code can also be found on the included power supply and on the first panel. Once the panels are paired, you can assign them to the room, and if you are using an iOS device, this process automatically adds them to the Apple Home application, from which you can control the lighting. In the app you will find plenty of color and rhythm scenes. These scenes are automatically added to the HomeKit app. The app also allows you to configure schedules - you can set the time of switching on the lights, the frequency of changing scenes and so on.
Another distinguishing feature of Canvas lights is, similarly to Philips Hue bulbs, the ability to program them to simulate sunrise for example.
Functions
Nanoleaf has added touch actions to the panels through a new firmware update. The touch-sensitive panels give the possibility to interact with the lights in several different ways. The easiest way to interact with Canvas is to touch any panel - this causes the light to wave and the color of the light on that particular panel will change depending on the scene lighting the wall.
You can also use touch gestures in Canvas. They do not depend on the light scenes, but you can use them to control the lights yourself, for example to change scenes, adjust the brightness or turn the panels on or off.
After one of the last panel software updates, a feature has been added that Nanoleaf calls Touch Actions. This function also allows you to use the panels as intelligent buttons, enabling you to activate HomeKit scenes and control all HomeKit enabled devices throughout your home. For example, a single touch of a specific square can turn on the smart lighting throughout the house, and a double touch can turn it off. There is also a long press option that can be used to change the shade, color or scene of the smart lights. Setting up touch actions is a little bit complicated, but you can find them and read them in Nanoleaf in the settings panel.
The touch panel character also transforms Canvas into interactive games. In the application, under the Interactive tab of the Discover section, you can find several games, including Memory, Whack A Mole, PacMan and Game of Life.
Summary
It is difficult to criticize a device that can change any space - be it an office, a children's room, an office or a living room. The purchase of panels may be considered a certain extravagance, but once they are set up, we will not regret that money was ever spent on them.
It is a versatile set - you can play with it, it works well with other mood lighting. It guarantees improvement of your mood, no matter how bad your day was.
The only downside that comes to my mind is the fact that after peeling them off the wall there are traces that need a small renovation/repair of these places.